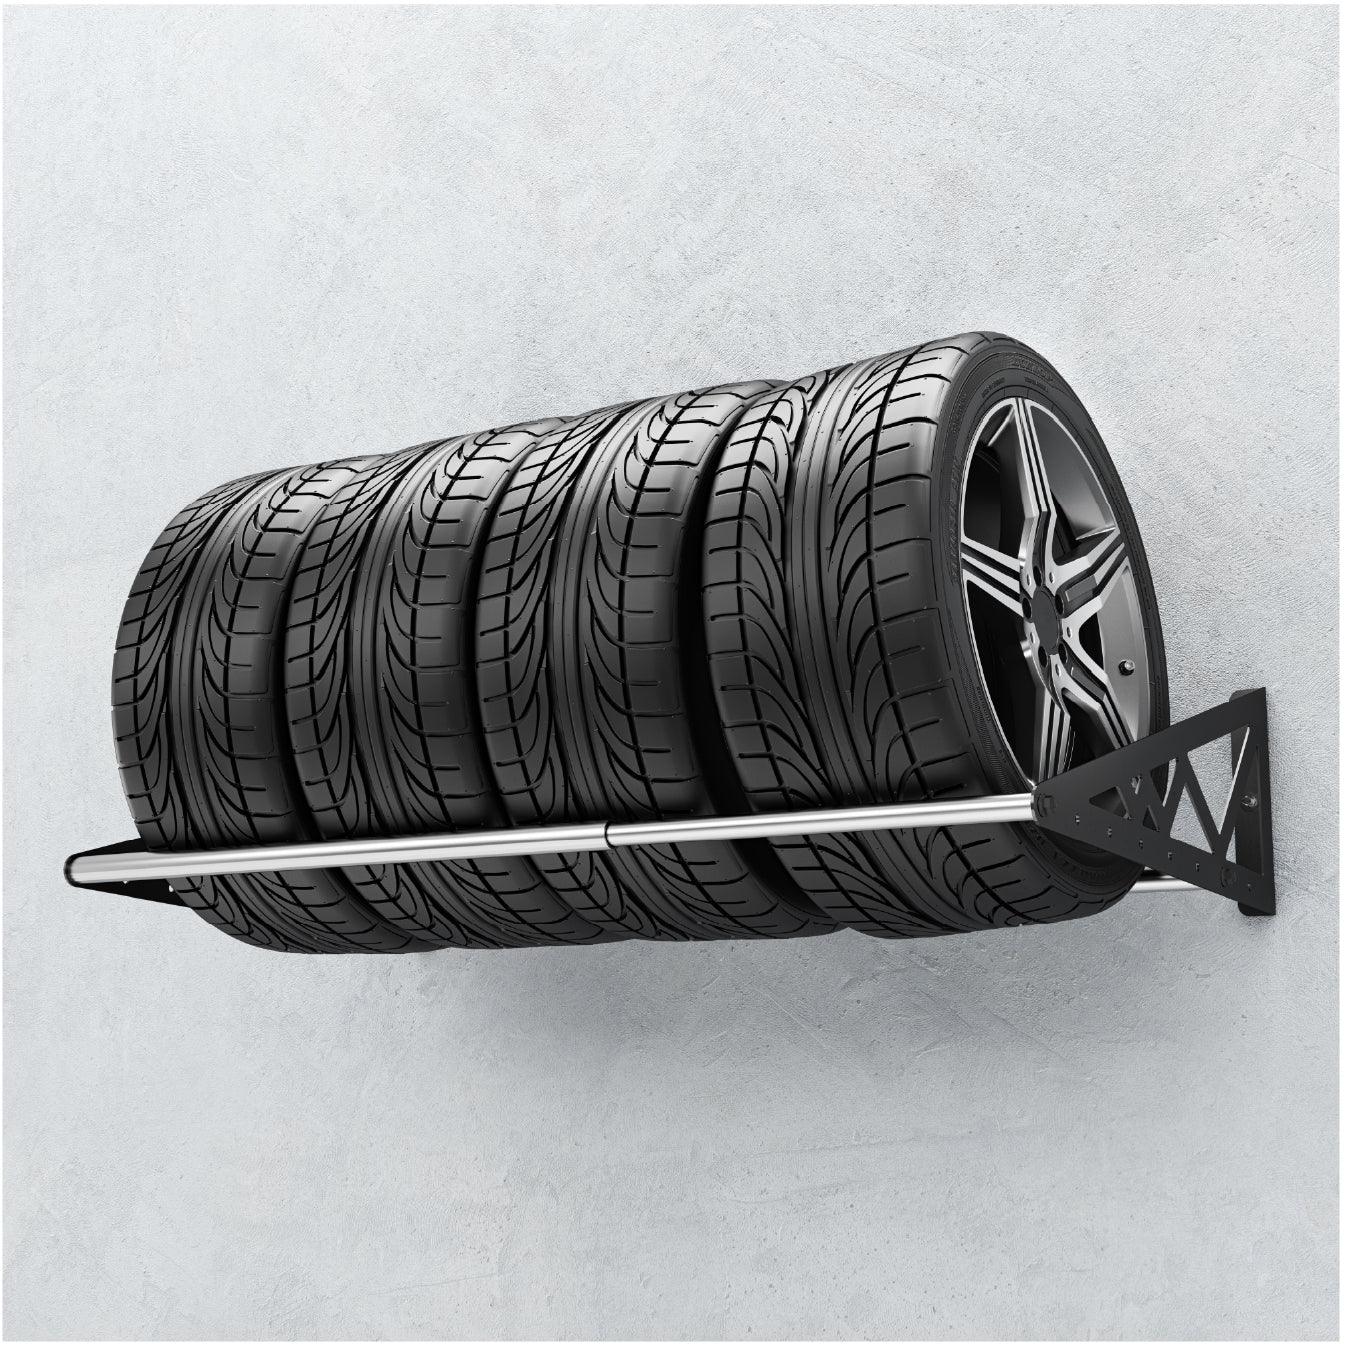
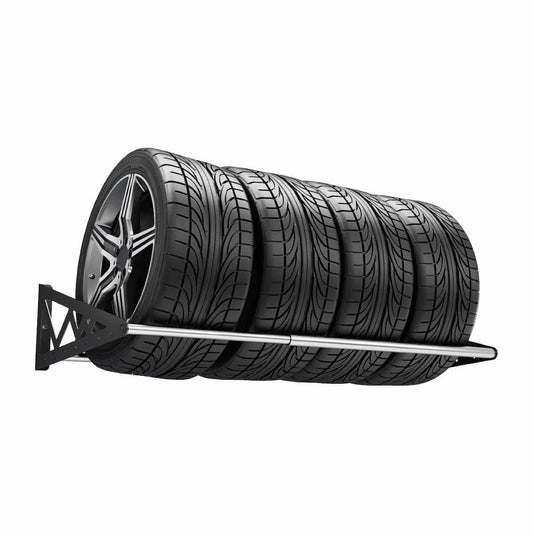
Tire Rack
The SafeRacks tire rack provides an efficient and organized solution for storing and organizing your tires, helping to free up valuable floor space in your garage or workspace. With its sturdy construction and adjustable design, it accommodates various tire sizes, ensuring your tires are kept in optimal condition while reducing clutter.
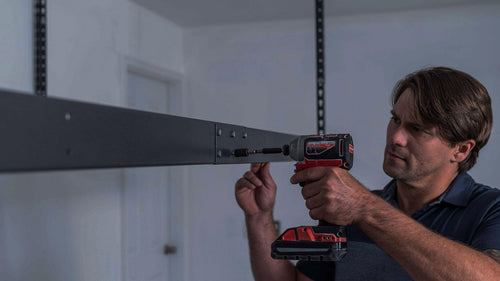

Need help installing?
Take advantage of our nationwide network of fully certified, professional SafeRacks installers.
Collapsible content
Beyond the Garage - My Storage Bin Transformation
Hey everyone, Riann here! I’ve always been…well, let’s just say organizationally challenged. My garage was a black hole. My shed? Don’t even ask. I’m a visual person, so “out of sight, out of mind” quickly became my operating principle. But this year, I decided enough was enough. I was determined to reclaim my space and banish the clutter, and I knew SafeRacks was the place to start.
I’ve been a fan of SafeRacks for ages – those overhead racks in my garage are lifesavers for holiday decorations and out-of-season sporting gear. But this time, I wanted to tackle the smaller stuff. The stuff that accumulates like dust bunnies under the couch. I knew those sturdy SafeRacks storage bins and lids were the answer, but I didn’t want to just stack them up in the garage. I wanted to transform my storage.
That’s how I stumbled upon what I now consider my ultimate SafeHack: turning ordinary storage bins into stylish, multi-functional organizers, especially perfect for ADUs, sheds, and even poolside retreats. Yes, poolside! Keep reading; I’ll explain.
The Problem: Shed Chaos & ADU Clutter
Let’s paint a picture. My shed is a glorified potting shed, but also a repository for garden tools, pool supplies, and, inexplicably, a collection of vintage birdhouses I inherited from my grandma. Finding anything was an archaeological dig. My ADU (accessory dwelling unit, basically a small guesthouse) suffered from a different problem: limited space and too much multi-purpose furniture trying to do too much at once. It needed to be guest-ready, but also function as a temporary office and occasional yoga studio. Organization was crucial, but so was aesthetics. I didn't want ugly plastic bins screaming "storage!" at every turn.
I needed storage solutions that were:
-
Durable: My shed faces some serious weather. Those flimsy dollar-store bins just wouldn't cut it. I needed something that could withstand humidity, temperature swings, and the occasional rogue gardening tool. The durable plastic storage bins from SafeRacks immediately caught my eye.
-
Stackable and Space-Saving: Vertical storage is key in both my shed and ADU. SafeRacks stackable storage containers with their secure lids seemed perfect for maximizing every inch.
-
Versatile: I didn't want a one-size-fits-all solution. I needed bins that could hold everything from potting soil to pool noodles to guest linens.
-
Attractive (Yes, Attractive Storage Bins!): This was crucial for the ADU. I needed a way to disguise those functional storage bins so that they didn't clash with the decor. I thought it should be easy enough to make something attractive to keep out for guests.
Exploring the SafeRack Options: From Holiday Totes to InstaCrates
First things first, I explored all my bin options from SafeRacks. I loved that SafeRacks had everything from the 12 gallon all the way up to the 27 gallon, and even the 27 Gallon Christmas edition! It could work so well in my shed for keeping all our Christmas themed decor together. Also they were offering the lids separately, and I didn't have to worry about purchasing and finding a lid that would snap and lock to my bin.
I considered collapsible storage totes like the InstaCrate. Those were super appealing for their space-saving design when not in use (perfect for the ADU!). But for my initial project, I decided on a mix of 27-gallon storage bins (I love the size and the sturdiness) and the 12 gallon storage bins to handle a variety of items and I knew I could create a cohesive look.
The Winning SafeHack: Bin Bench for the Pool House/ADU
After brainstorming countless ideas, I decided on a “Bin Bench” project. The concept? Turning a stack of SafeRacks storage bins into a functional, stylish bench with built-in storage. This was perfect for my pool house/ADU because it would provide extra seating, keep pool towels and toys organized, and add a pop of color (literally – more on that in a bit!). You know storage benches are, like, trendy in the interior design world right now so this seems like the best idea to move forward with.
Here’s how I did it (and how you can too!):
1. The Planning Stage (Crucial!)
Measure Your Space: Start by measuring the area where you want to place your bench. Determine the desired length, width, and height to ensure it fits perfectly. I wanted mine to be about 4 feet long and 18 inches high, so I chose three 12-gallon storage bins from SafeRacks as the base. These bins were just the right size for creating a compact yet functional bench.
Choose Your Bins: I opted for three 12-gallon bins from SafeRacks. Their durable construction and stackable design made them perfect for this project. Plus, their size was ideal for storing smaller items like rolled-up towels, pool toys, or seasonal decor.
Gather Your Supplies: In addition to the bins, you’ll need the following materials:
-
A sheet of plywood (cut to match the length and width of your bench seat)
-
Foam padding (optional but recommended for added comfort)
-
Fabric of your choice (I went with a durable, outdoor-friendly canvas in a fun pattern)
-
Staple gun and staples
-
Drill and screws
-
Sandpaper
-
Wood stain or paint (optional, for finishing the plywood)
-
Heavy-duty adhesive or construction adhesive (optional, for added stability)
2. Building the Base
Prepare the Bins: Start by cleaning your SafeRacks bins thoroughly to remove any dust or debris. Since these bins will form the foundation of your bench, you want them to be in top condition.
Arrange Your Bins: Place the three bins side by side in a single row. This configuration creates a stable base while keeping each bin accessible for storage. If you want extra stability, use heavy-duty adhesive to secure the bins together.
Prepare the Plywood: Sand down the edges of your plywood to prevent splinters and create a smooth finish. If you’d like to add a decorative touch, stain or paint the plywood to match your aesthetic. I chose a natural wood stain that complimented my fabric choice.
Secure the Plywood to the Bins: Carefully align the plywood on top of the three bins. Pre-drill holes through the plywood and into the lids of the bins to avoid cracking. Then, use screws to attach the plywood securely to each bin lid. This step ensures that your bench is sturdy and safe to sit on.
3. Upholstering the Seat
Cut the Foam: Measure and cut foam padding to match the size of your plywood seat. If you prefer a more cushioned bench, layer multiple pieces of foam until you achieve your desired thickness.
Attach the Foam: Use spray adhesive to attach the foam padding to the top of your plywood seat. This will keep it in place as you upholster it.
Cut Your Fabric: Lay your fabric flat on a clean surface and cut it so that it extends several inches beyond each edge of the plywood. This extra material will allow you to wrap it around and staple it securely.
Staple the Fabric: Place your foam-covered plywood face down on top of the fabric. Starting in the center of one side, pull the fabric taut and staple it to the underside of the plywood. Move to the opposite side and repeat, working your way toward each corner. For a polished look, fold and tuck each corner neatly before stapling.
4. The Finishing Touches (and the Real SafeHack!)
Adding Color and Personality: Now comes my favorite part – customizing your Bin Bench! I used stencils and outdoor-friendly paint to add a fun geometric pattern along the sides of my bins. You could also get creative with decorative rope, stickers, or even washi tape if you're going for a playful vibe.
Consider a Backrest: If you’d like added comfort, consider attaching a backrest to your bench. You can either build one using wood or simply add large throw pillows in coordinating colors for a cozy touch.
Safety First: If you have kids or plan to use this bench in an area with a lot of foot traffic, consider adding non-slip feet or rubber pads under each bin to prevent sliding on smooth surfaces. This three-bin bench turned out even better than I imagined! It’s not only functional but also stylish enough that guests always ask where I bought it (and are shocked when I tell them I made it myself!). The best part? The bins are still completely usable as storage – I keep pool towels in one, sunscreen and goggles in another, and spare flip-flops in the third.
Whether you're outfitting an ADU, organizing a shed, or creating extra seating in your pool house, this project is proof that SafeRacks storage bins can do so much more than just hold clutter. With a little creativity and effort, they can become multi-functional pieces that look great while keeping everything tidy.
-
So what are you waiting for? Grab some SafeRacks bins and start hacking! Trust me – once you see how easy it is, you'll want to make one for every room in your house!
Beyond the Pool House: Other Bin-tastic Ideas
The Bin Bench is just the beginning! Once I got started, I couldn't stop finding creative uses for my SafeRacks storage bins:
-
ADU Guest Welcome Station: I stacked a few 12-gallon bins near the entrance of the ADU and filled them with guest essentials: extra towels, toiletries, a hairdryer, even a few snacks. I covered the bins with a decorative fabric runner to make them look more inviting.
-
Shed Organization Central: In the shed, I used the 27-gallon bins to organize gardening supplies. One bin holds potting soil, another holds fertilizers, and another holds hand tools. I labeled each bin clearly so I can easily find what I need. I also used the collapsible storage totes to store pool noodles and inflatable toys – they're perfect for keeping those bulky items contained.
-
Mobile Craft Station: I attached casters (small wheels) to the bottom of a 27-gallon bin to create a mobile craft station for my kids. They can easily wheel it around the house and have all their art supplies at their fingertips.
Why SafeRacks Bins are the Key
I know what you're thinking: "I could do this with any storage bins!" And you're right… to a point. But here's why SafeRacks bins are the game-changer:
-
Durability: They're built to last. Seriously, these things are tough. They can withstand the elements in my shed, the wear and tear of daily use in my ADU, and even the occasional splash of chlorine by the pool.
-
Stackability: The secure lids make stacking a breeze, maximizing vertical storage space.
-
Versatility: They come in a variety of sizes and styles, so you can find the perfect bin for any storage need.
-
Peace of Mind: Knowing that my belongings are safely stored in durable, reliable bins gives me peace of mind.
My Final Thoughts
Transforming my storage with SafeRacks bins has been a game-changer. My shed is no longer a black hole, my ADU is both stylish and functional, and my pool area is organized and inviting. And the best part? It was a fun, creative project that I could do myself.
So, if you’re looking to declutter your space and add a touch of style, I highly recommend giving SafeRacks storage bins a try. Get creative, think outside the box (or, in this case, inside the bin!), and see what amazing storage solutions you can come up with.